Photo Mode Tips from the Community

Hello champions of light, Alan Wake truthers, number one fans,
it’s been over a month since the Photo Mode was released as a free update to Alan Wake 2, and since then you’ve absolutely flooded social media with all the amazing shots you’ve been taking in the game! We decided to pay all that wonderful creativity back by holding a competition for the best photo mode shots, which you can read about here, but then we thought – why stop there? Today, August 19, is World Photography Day, and to mark the occasion we asked some of our community members and virtual photographers to share some tips from their toolbox with us, and with you!
Read on to find out how to make the most out of the Photo Mode in Alan Wake 2, from the people who use it the most – the virtual photographers.

By Sara (sarokeye on X)
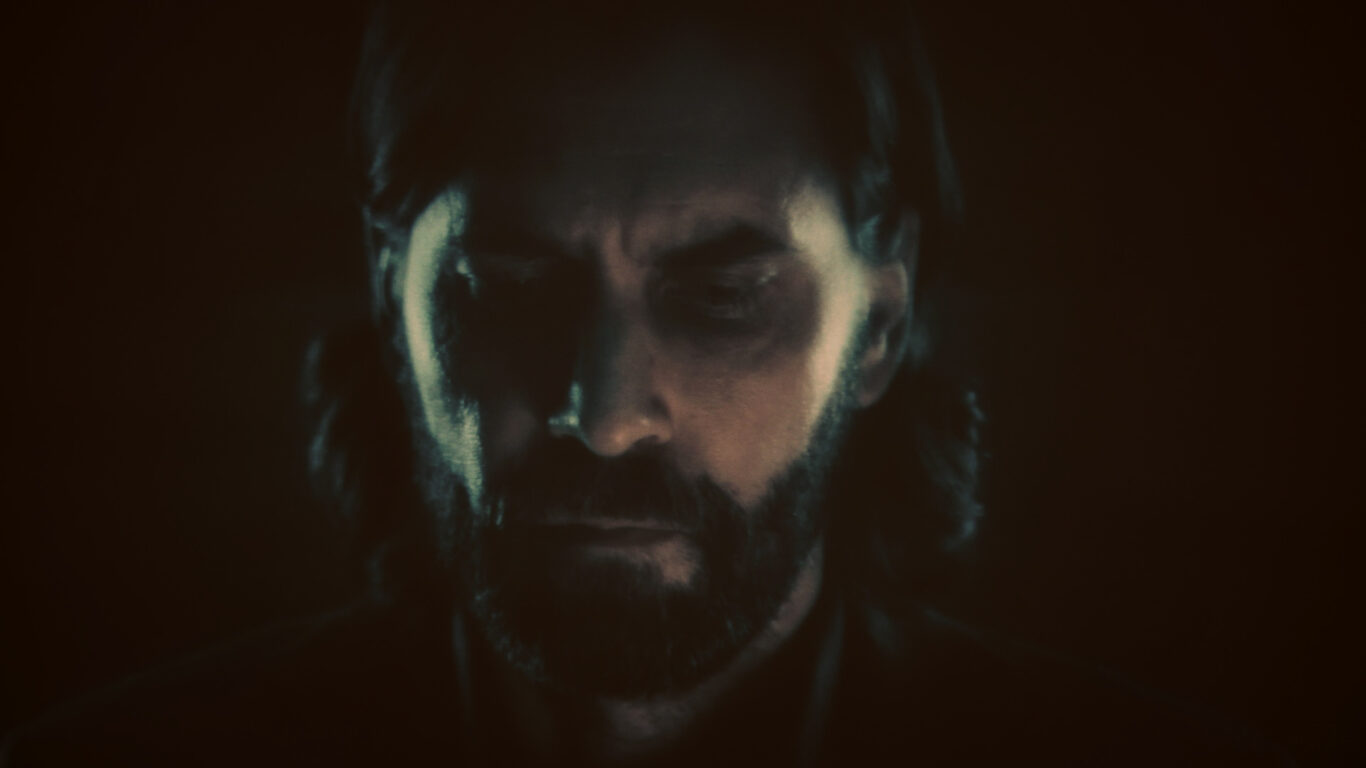
The most common thing all our virtual photographers mention is to follow the light.
Sara (sarokeye on X) shares her favourite trick – adding custom lights in random areas to light characters from different angles, as well as using them in a traditional setting to get beautiful, isolated portraits of your character. “Have fun and get close to the shadows. Use their texture to enhance your subject, whether it’s the characters or the landscape. This approach adds a unique and spooky mood to your work.”
Suni (alpha_sunii on X) agrees that adding a light source is very helpful, especially for portraits. “A neutral and unbusy background is ideal, which can be achieved by increasing the fog density or finding a dark background in a dark area. The light option “Portrait spot“ is effective for portraits, as it produces dramatic lightings and shadows,” they say.
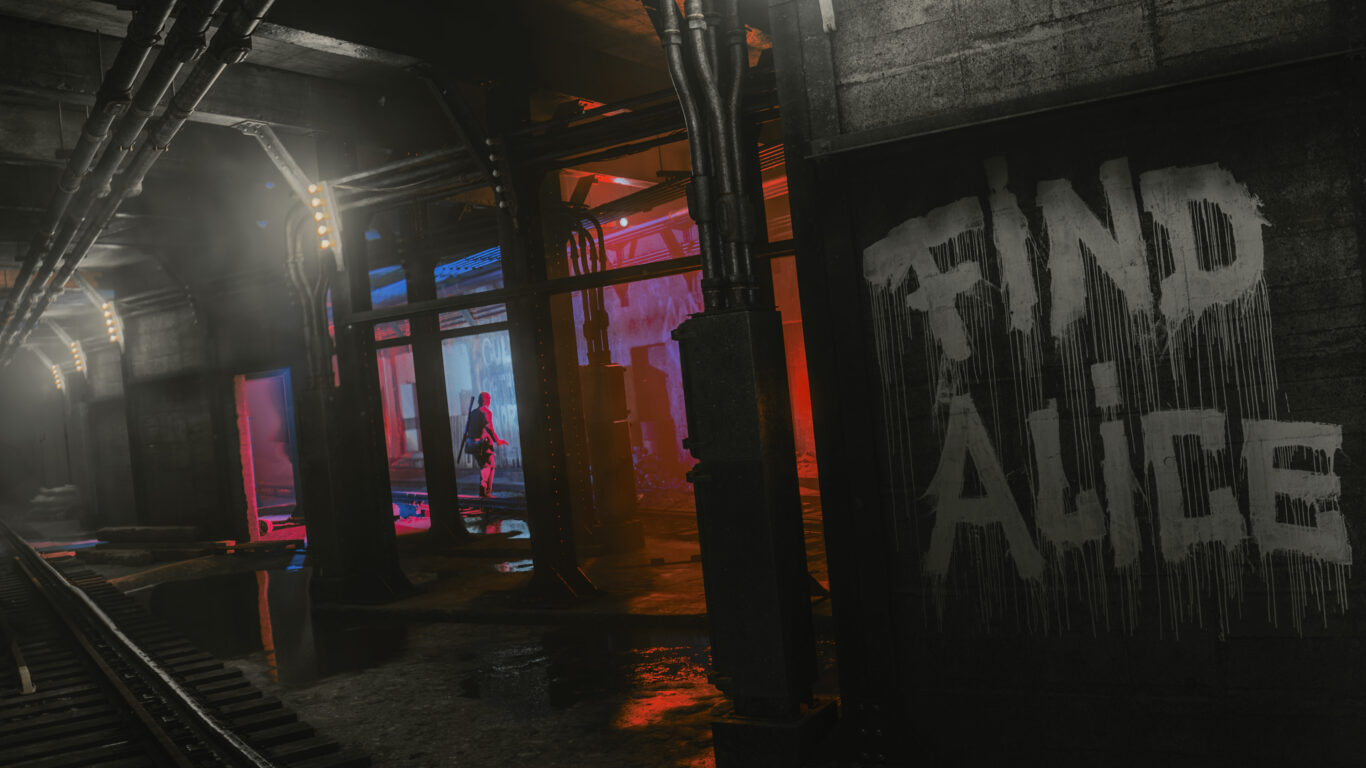
By Disco (discophotomode on X)
Disco (discophotomode on X) takes virtual photographs on consoles (and with a camera too), and she emphasises the importance of lighting. She says to follow the light, and to not forget to use additional light sources, both when it comes to the tools that the Photo Mode offers you, and in-game tools.
“Turn off the vignette and increase the exposure to +2 to make your screenshots brighter. In working on NPC portraits, use the Flashlight lamp. To separate your character’s figure from the background, illuminate it from the back with the help of the Portrait lamp. A trick is to use the hand flare, so you can create additional sources of lights in the frame. If you fire the Flare Gun, you get a very pleasant scene with sparkles,” Disco says.
How do you further make use of the environments? Look for uncommon angles, advises Disco. “Hold the camera high up and shoot panoramic views of Bright Falls and Watery. Take a photo of your character through the window or the doorway to get a fancy framing. Shoot unusual, curved footage in fish eye style via the Lens Distortion settings.”
Fogginess is another powerful tool to make the environments of Alan Wake 2 really come alive, says Suni. “By increasing the density of the fog, it contributes to a mysterious and eerie atmosphere in your capture. The fog also emphasizes the shape of the subject and allows you to create dramatic silhouettes. Early in the game, in Cauldron Lake, you can observe light rays falling through the forest. If you increase the density of the fog, an ominous scenery is automatically created.”

By Suni (alpha_sunii on X)
Rebecca-Sarah (TheAmeliaNathan on X) wants to direct your attention to the game themed frames available in the Photo Mode.
Polaroid, she says, is a great tool for close ups of individual objects to highlight them. Postcard is a fun way to show places of the game and what makes them special. With Alice Photo – her favourite – you can focus your shots on a certain motif like a character or the environment. It gives the shots a unique rustic and even vintage feeling which works amazing for the forests around Cauldron Lake and Bright Falls or Watery.
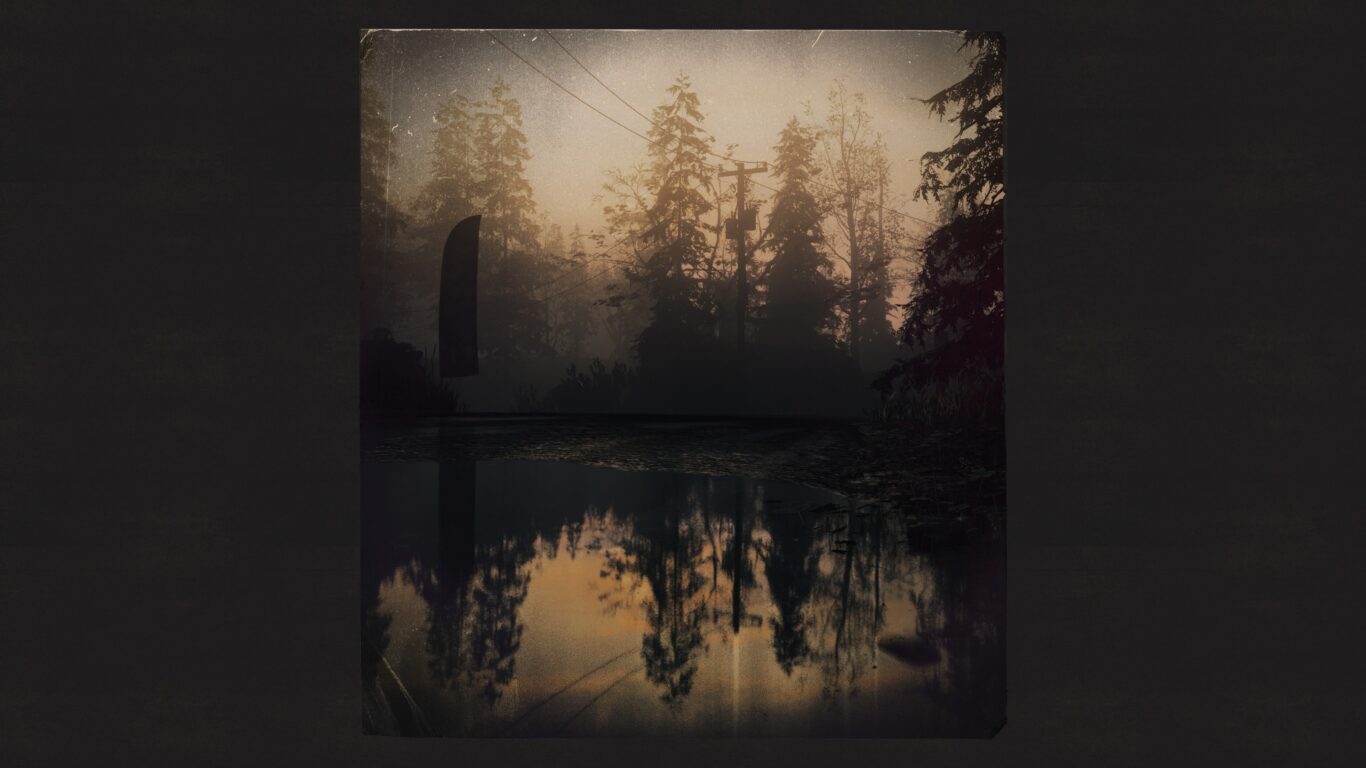
By Rebecca-Sarah (TheAmeliaNathan on X)
Here’s how you can do something like what she did with the above capture. “I recommend after choosing the Alice Photo frame to select an effect (my favourites are Bright Falls or Deerfest for the extra warm toned vintage look),” Rebecca-Sarah says, “put the contrast pretty high and saturation lower to get a hint of colour (or as much as you like) and add some fogginess.”
All our photographers want to let you know – don’t forget to use the presets that the Photo Mode offers! “Macro is ideal for shooting adorable dolls of Nursery Rhymes puzzles. Highlight their unconventional design with the help of lightning, shadows will give depth,” says Disco.
However, they all emphasise that you shouldn’t be afraid to experiment and get a little weird with it.
“My favourite tip is to not be afraid of the number of tools. Instead, figure out how these tools can help you to be more creative. Really get in there and push all of those settings to their absolute limits and see what happens,” says Barry (BarryPaust on X), whose awesome virtual photographs you may know from the many, many captures he’s taken of Control.
By Disco (discophotomode on X)
Sara shares how she does it: “As soon as I open the photo mode, I go into the presets and choose Macro or Portrait, then zoom out. It never fails; I always get a perspective with a different angle. If I get stuck, I click on the orbital option and move my camera until I find something I can work with. Then I switch it to the free option and take control from there.”
Disco emphasises the power of experimentation as well, especially when it comes to filters and saturation. If you shoot “Number One Fan” in black and white, you’ll get footage in the style of Hitchcock’s “Psycho”. Suni agrees that experimenting with contrast, brightness, saturation and filters is essential, as they significantly change the mood and aesthetics of a picture.
In most cases, according to Barry, experimentation will lead you to discovering an aesthetic you have never seen before. You may also discover that over-tweaking one setting will significantly impact how another setting or filter will perform for you.
By Barry (BarryPaust on X)
Here’s how Barry did it with the above virtual photo, using only in-game, Photo Mode tools.
“I took an overlaid shot of Alan (see the right side of the photo) and tweaked the settings to make a more realistic photo of him (see below). I pushed the contrast, exposure, and brightness settings–in combination with the Bright Falls filter–to create this capture.”
By Barry (BarryPaust on X)
Finally, Barry says – “Do not be afraid to break the photo mode, because you may discover something truly amazing!”
Good luck and we wish you lots of creativity out there! We can’t wait to see what you capture!